How would I know that my ad was successful? Is there any way to find that out? These are some of the questions that will arise after setting up your new Google ad campaign. The simple answer is, “Yes.” There is a perfect way to find out how successful your ad is and how much profit you have made from your ad campaign. This is through conversion tracking in Google Ads.
The main goal of running the ad is to make people buy your product, visit your webpage, sign up or subscribe to your blog page, email, or other features, etc. Therefore, knowing or tracking how many people responded to your ad to get the results that you were expecting is very important, particularly when using ad diagnostics to know the areas of campaigns.
Luckily, along with cool features for customizing your ad, Google also offers you the option called “Conversion tracking.”
“Conversion tracking” is the process of monitoring the number of people who responded to your ad and providing you with the expected outcomes.
Hence, using Google’s conversion tracking tool, you can easily check how many people bought your products or signed up to your web page, etc.
![]()
Now let’s quickly see how to set up your first conversion.
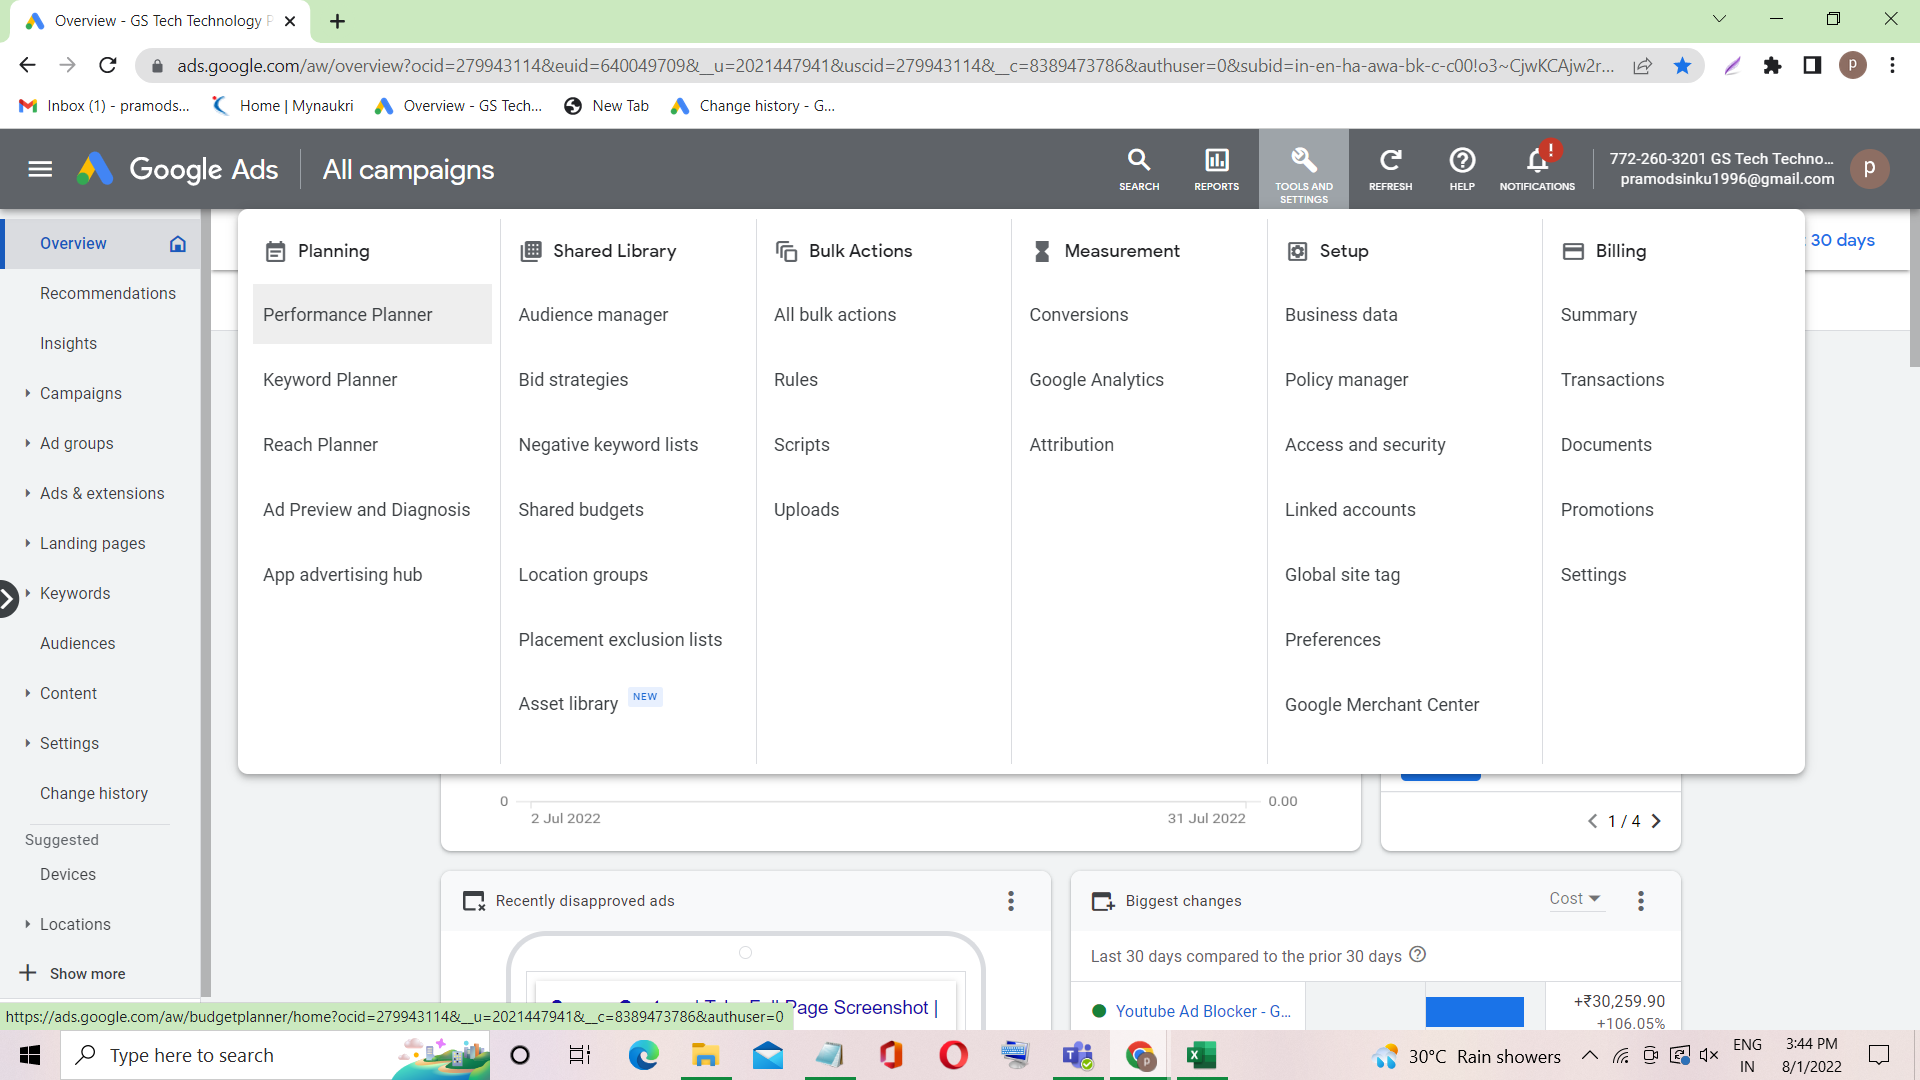
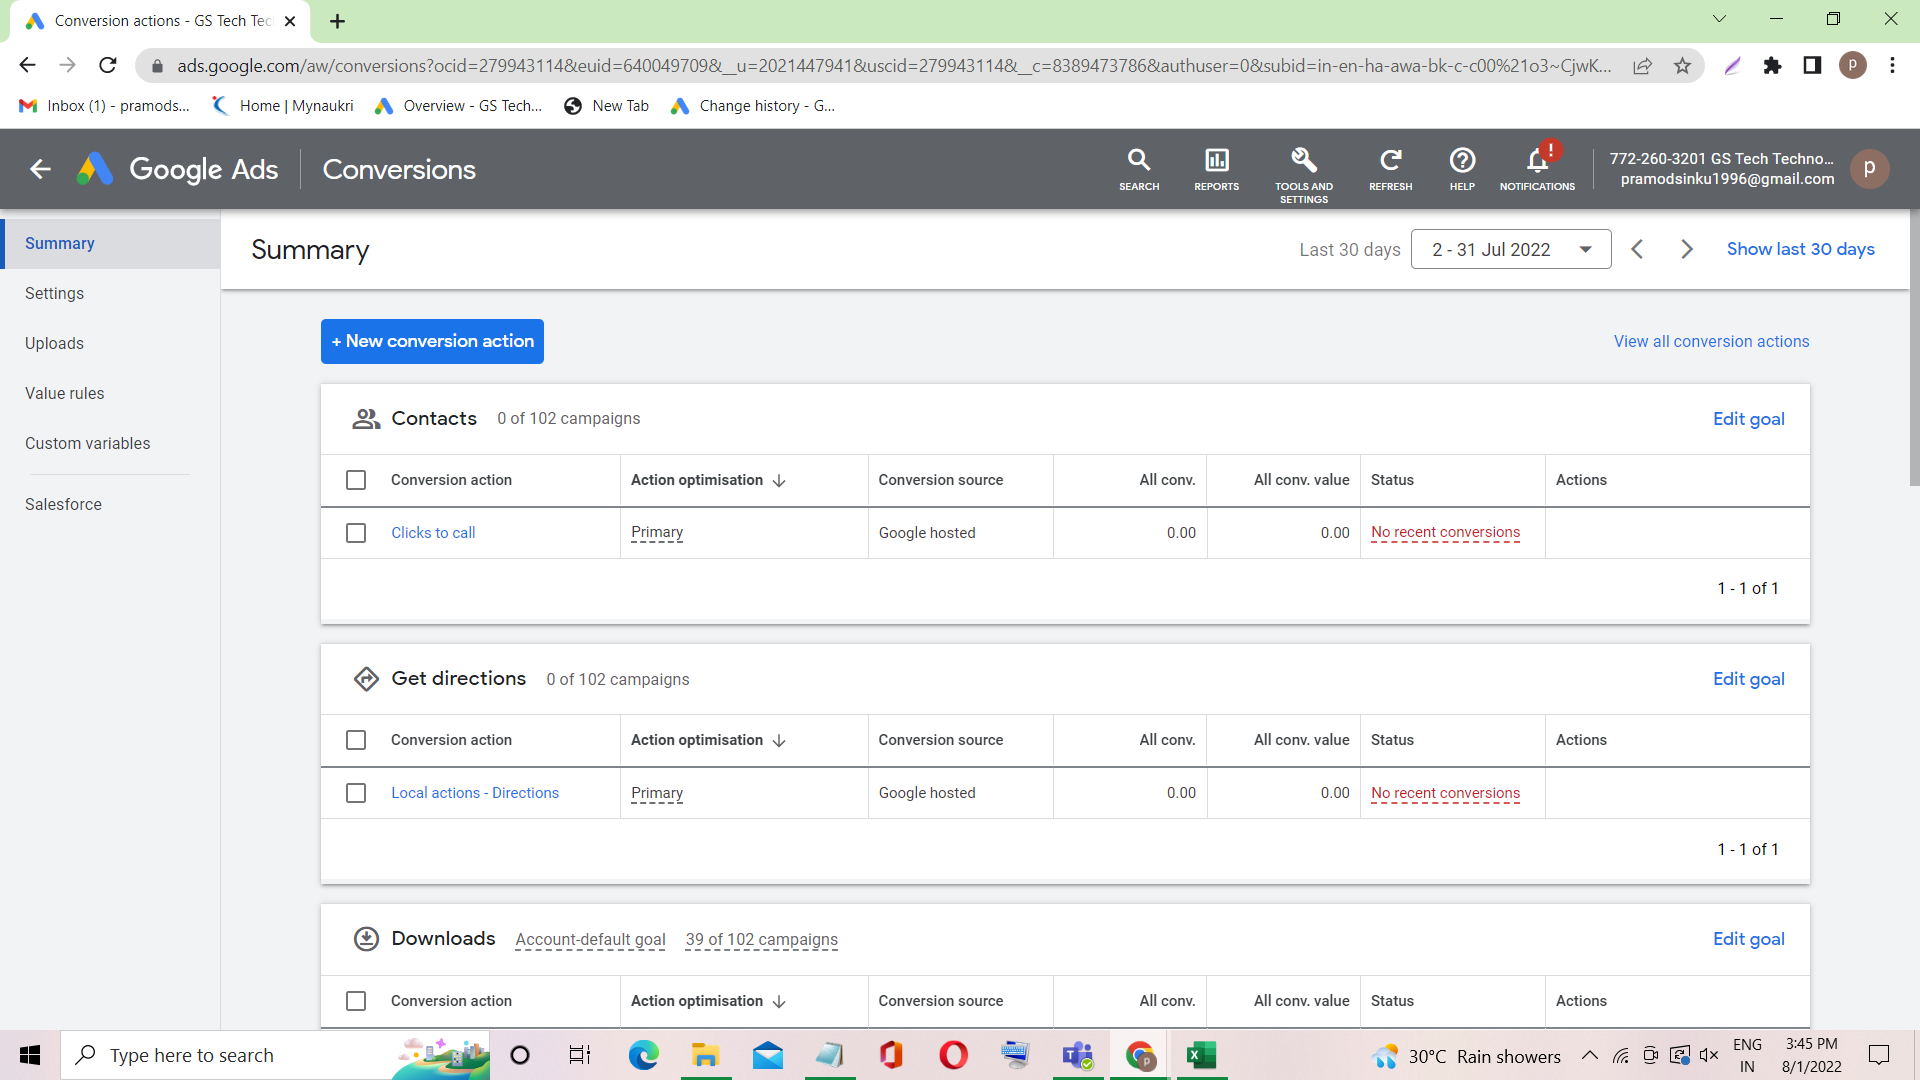
To begin, open Google Ads and click on the “Tools and settings” button on the top. From the drop-down menu, choose “Conversions,” which opens the “Summary” page. To create your first conversion, select the “+ New conversion action”.
Now you will be on the “Start tracking conversions” page. On this page, there are four different options that you can choose to start your conversions. They are…
- Website conversions
- App conversions
- Phone calls conversions
- Import conversions
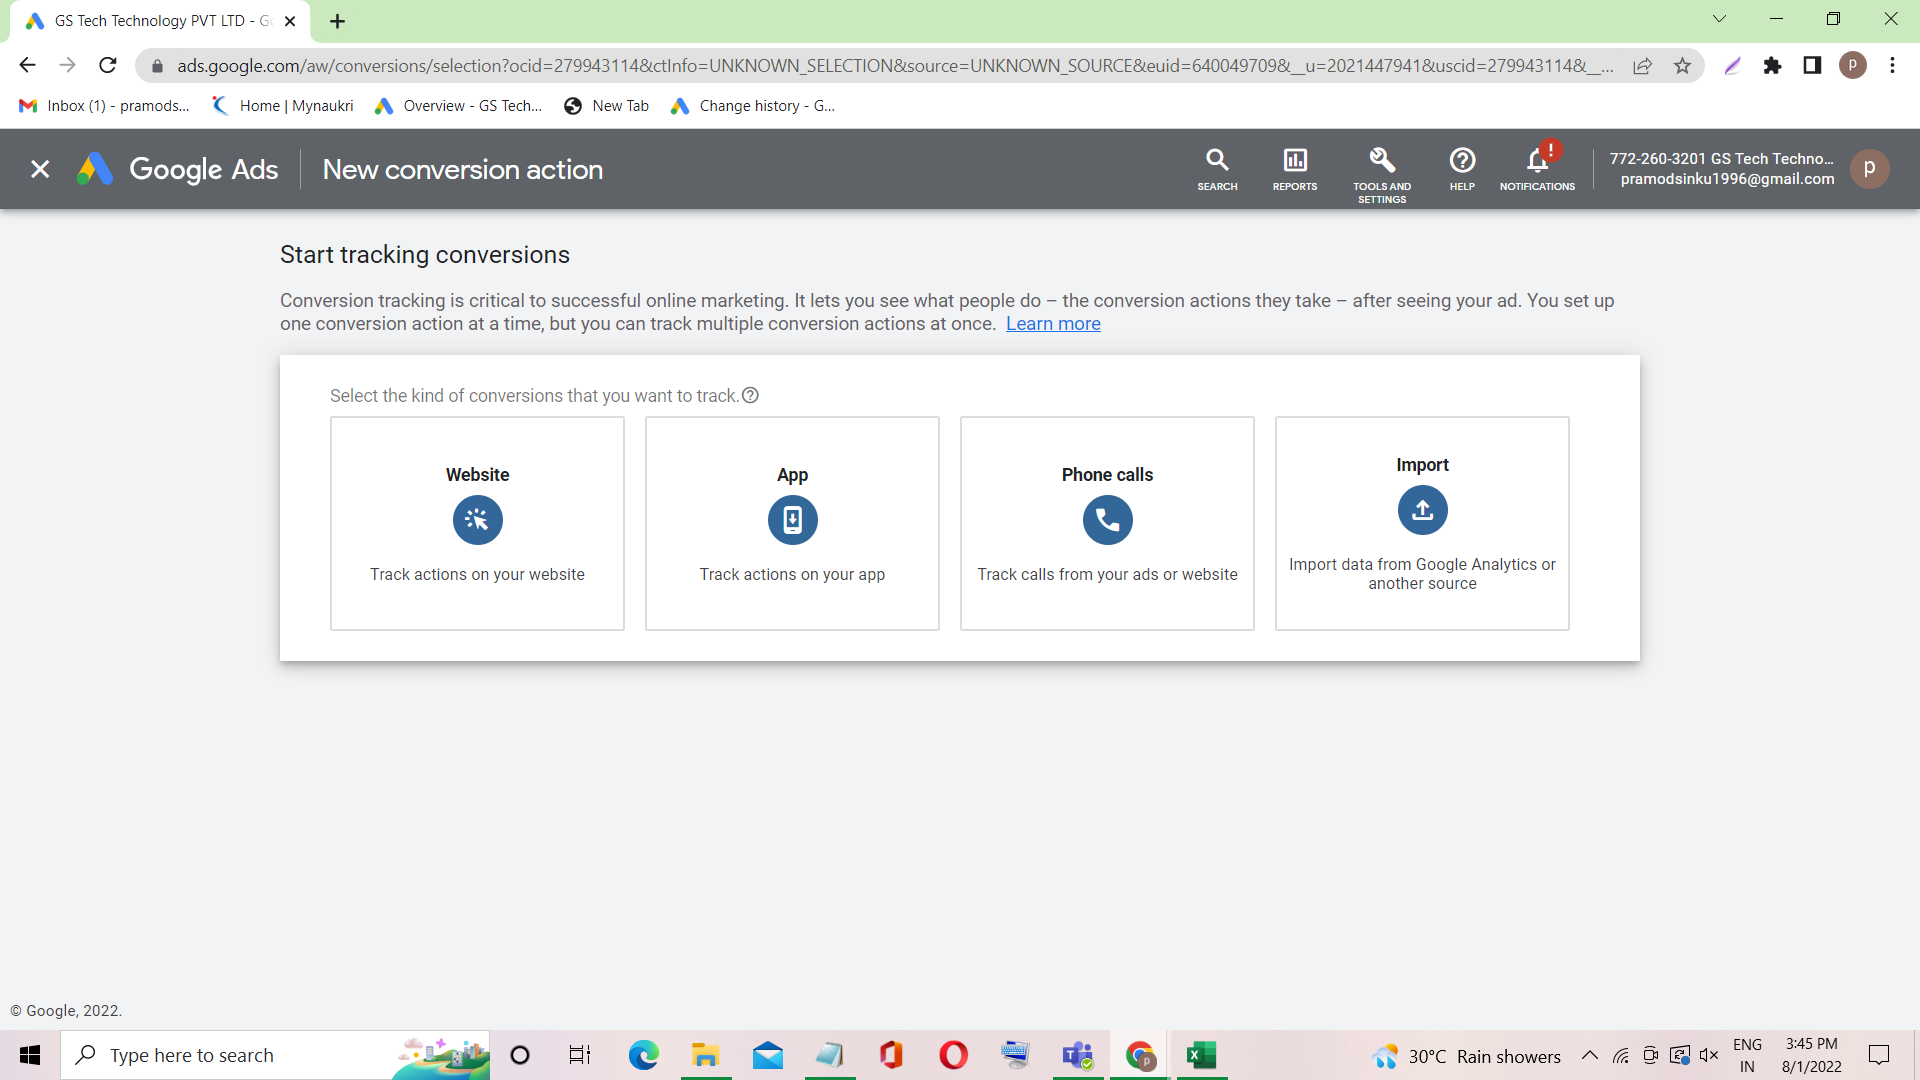
Now let us see how to set up website conversions…
Website conversions
Website conversions are used to track user behavior on your webpage, including page views, sign-ups, link clicks, and online sales. For example, travelling websites can use videos views, page visits, forms filled and other actions as conversions.
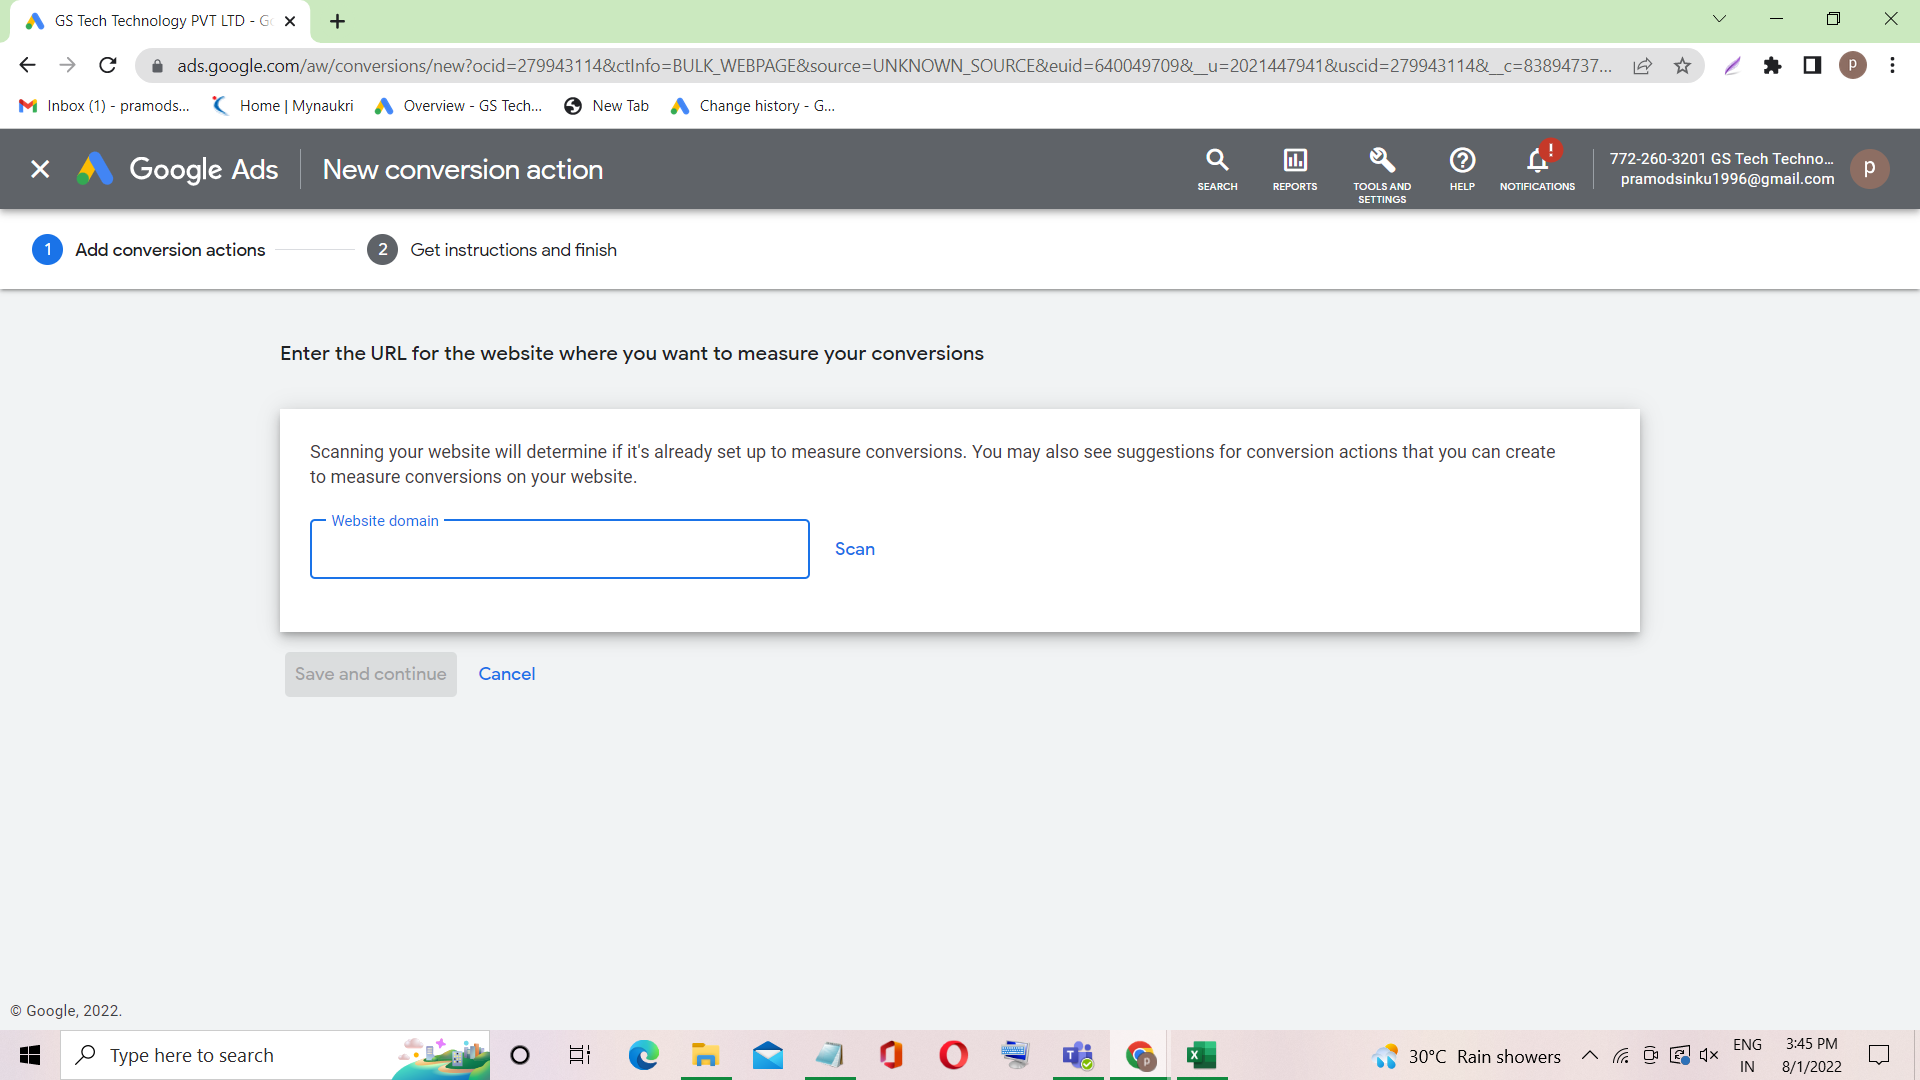
To start tracking your website conversions, you have to first enter the URL for the website you want to measure the conversions for in the “Website domain” box and then click on the “Scan” option for verification.
Enter your website domain and click Scan to:
- Detect if your website has a global site tag
- View a list of URLs that you can track as conversions
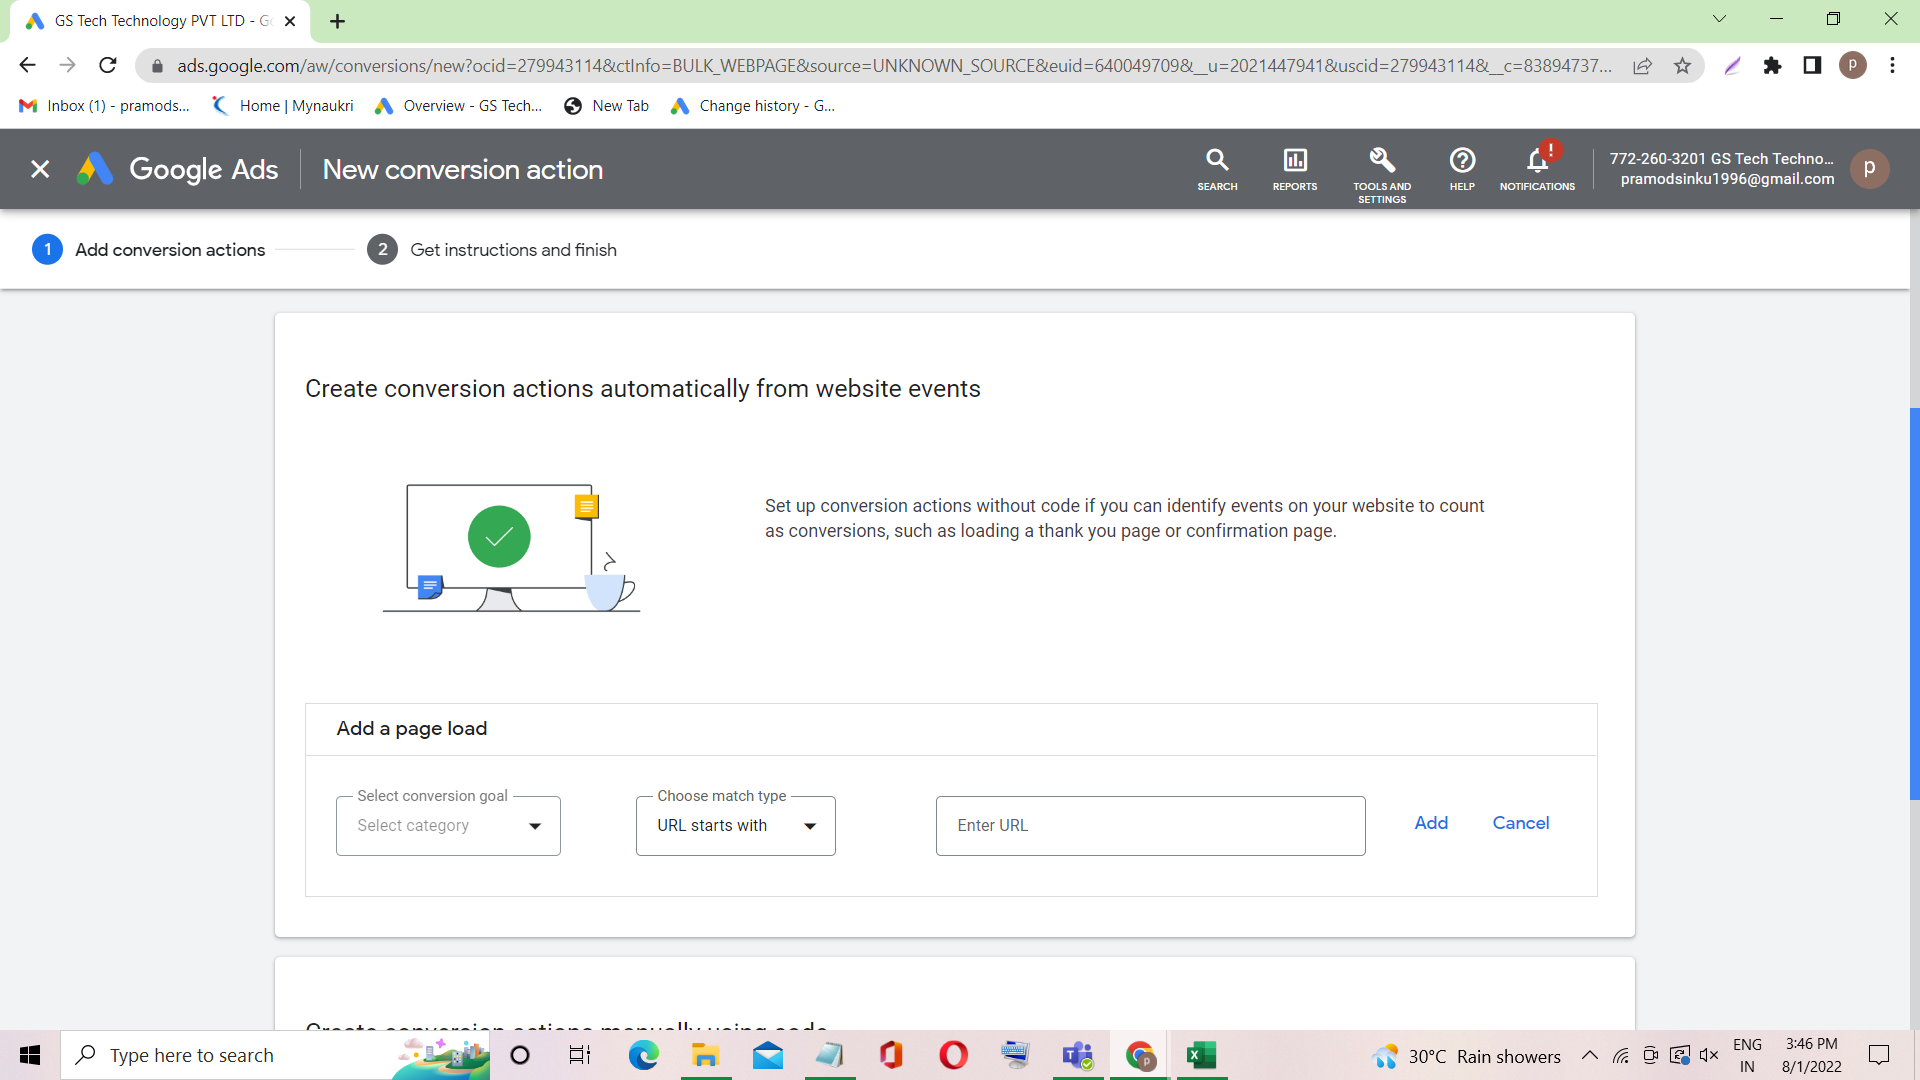
You can now set up conversion actions in 2 ways:
- Set up conversions using a URL- Use this method if you want to track a page load as a conversion and you don’t need to customize your conversion tracking setup. This is the fastest and easiest way to set up a conversion action.
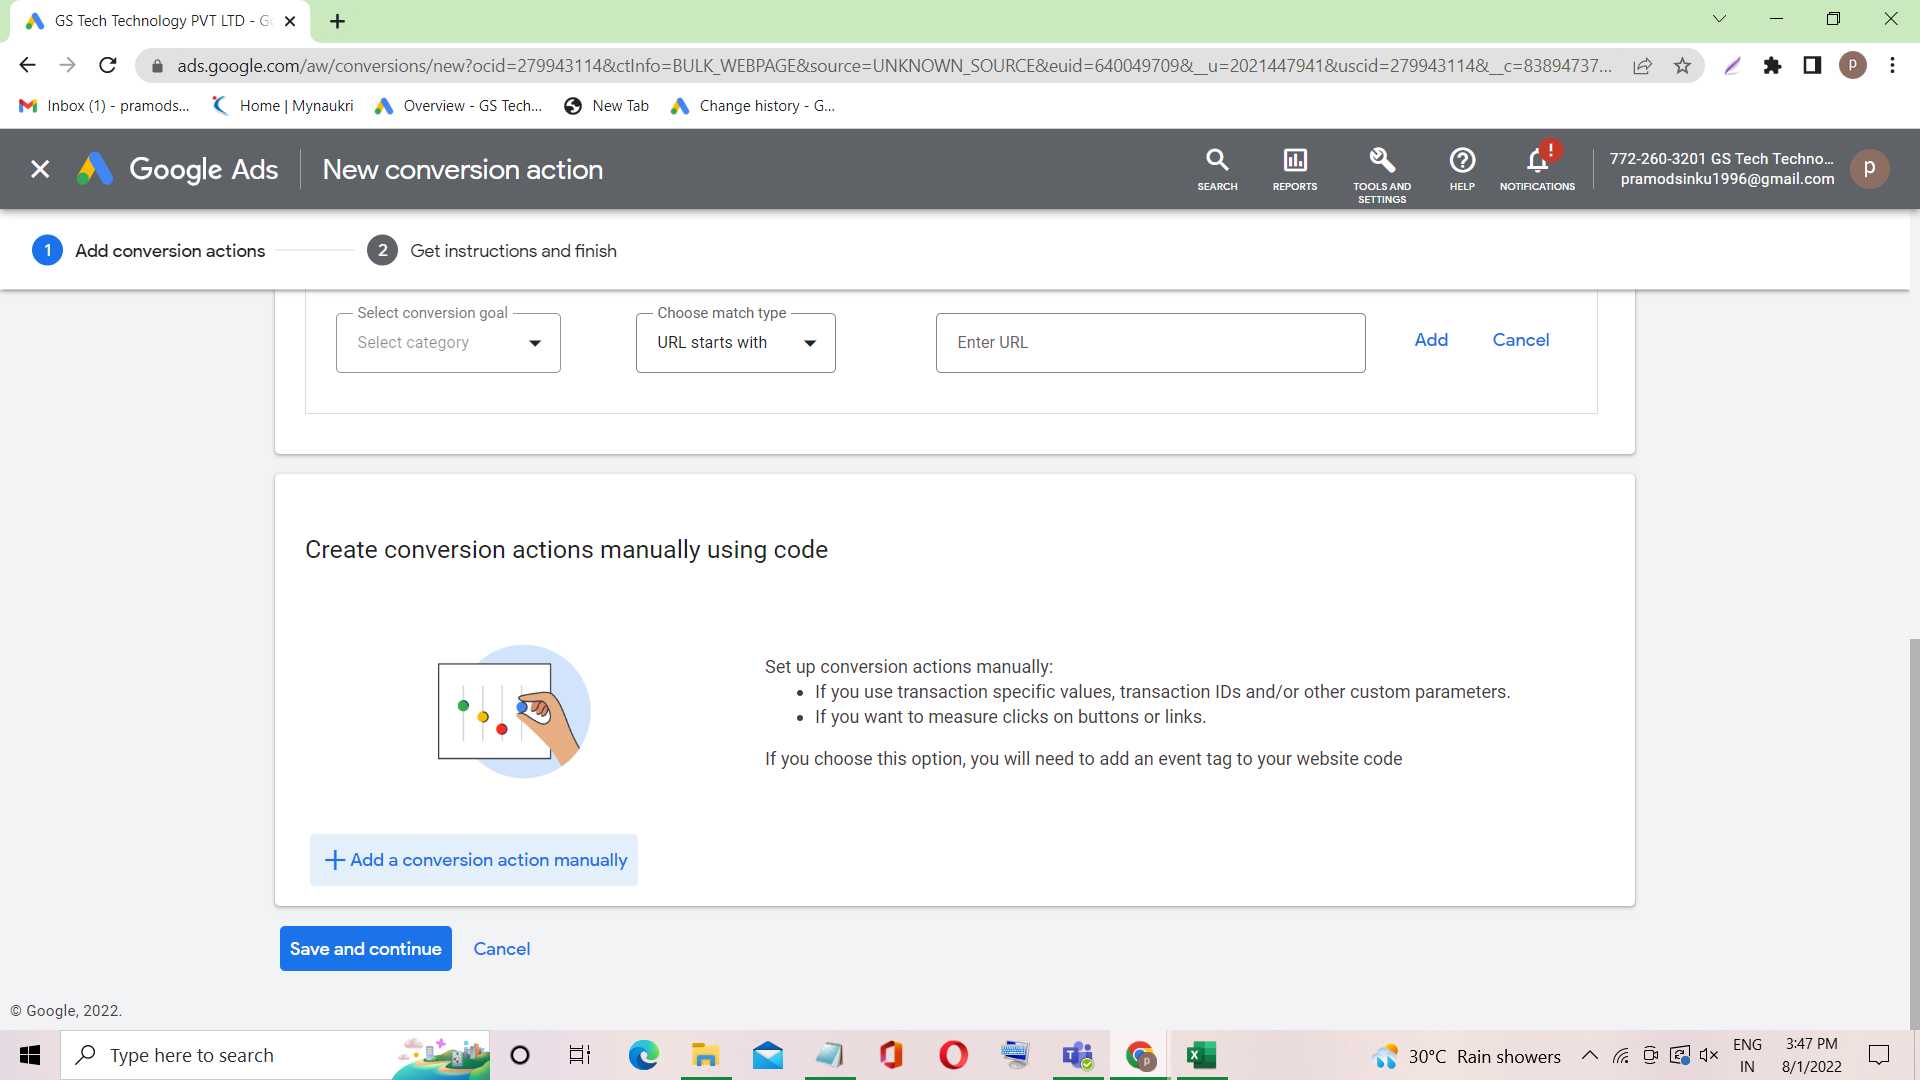
- Set up a conversion manually – Use this method if you need to track clicks on buttons or links, or if you want to customize your event tag with value tracking, transaction IDs, or other custom parameters.
After verification, click on the “Save and continue” button.
Now you will land on the “Create an action” page. There are multiple options on this page which have to be filled in based on your needs in an orderly manner, one after another. Now let us see how to fill in these options one by one.
Category
The first option you will see is “Category”. Click on the “select” drop-down option and select the category based on your requirements. Eg.) If you want to track the online purchases on your website, then select “Purchase” under the sales categories option, or if you want to track how many people signed up for your newspaper article, then select “Sign-up” under the leads categories.
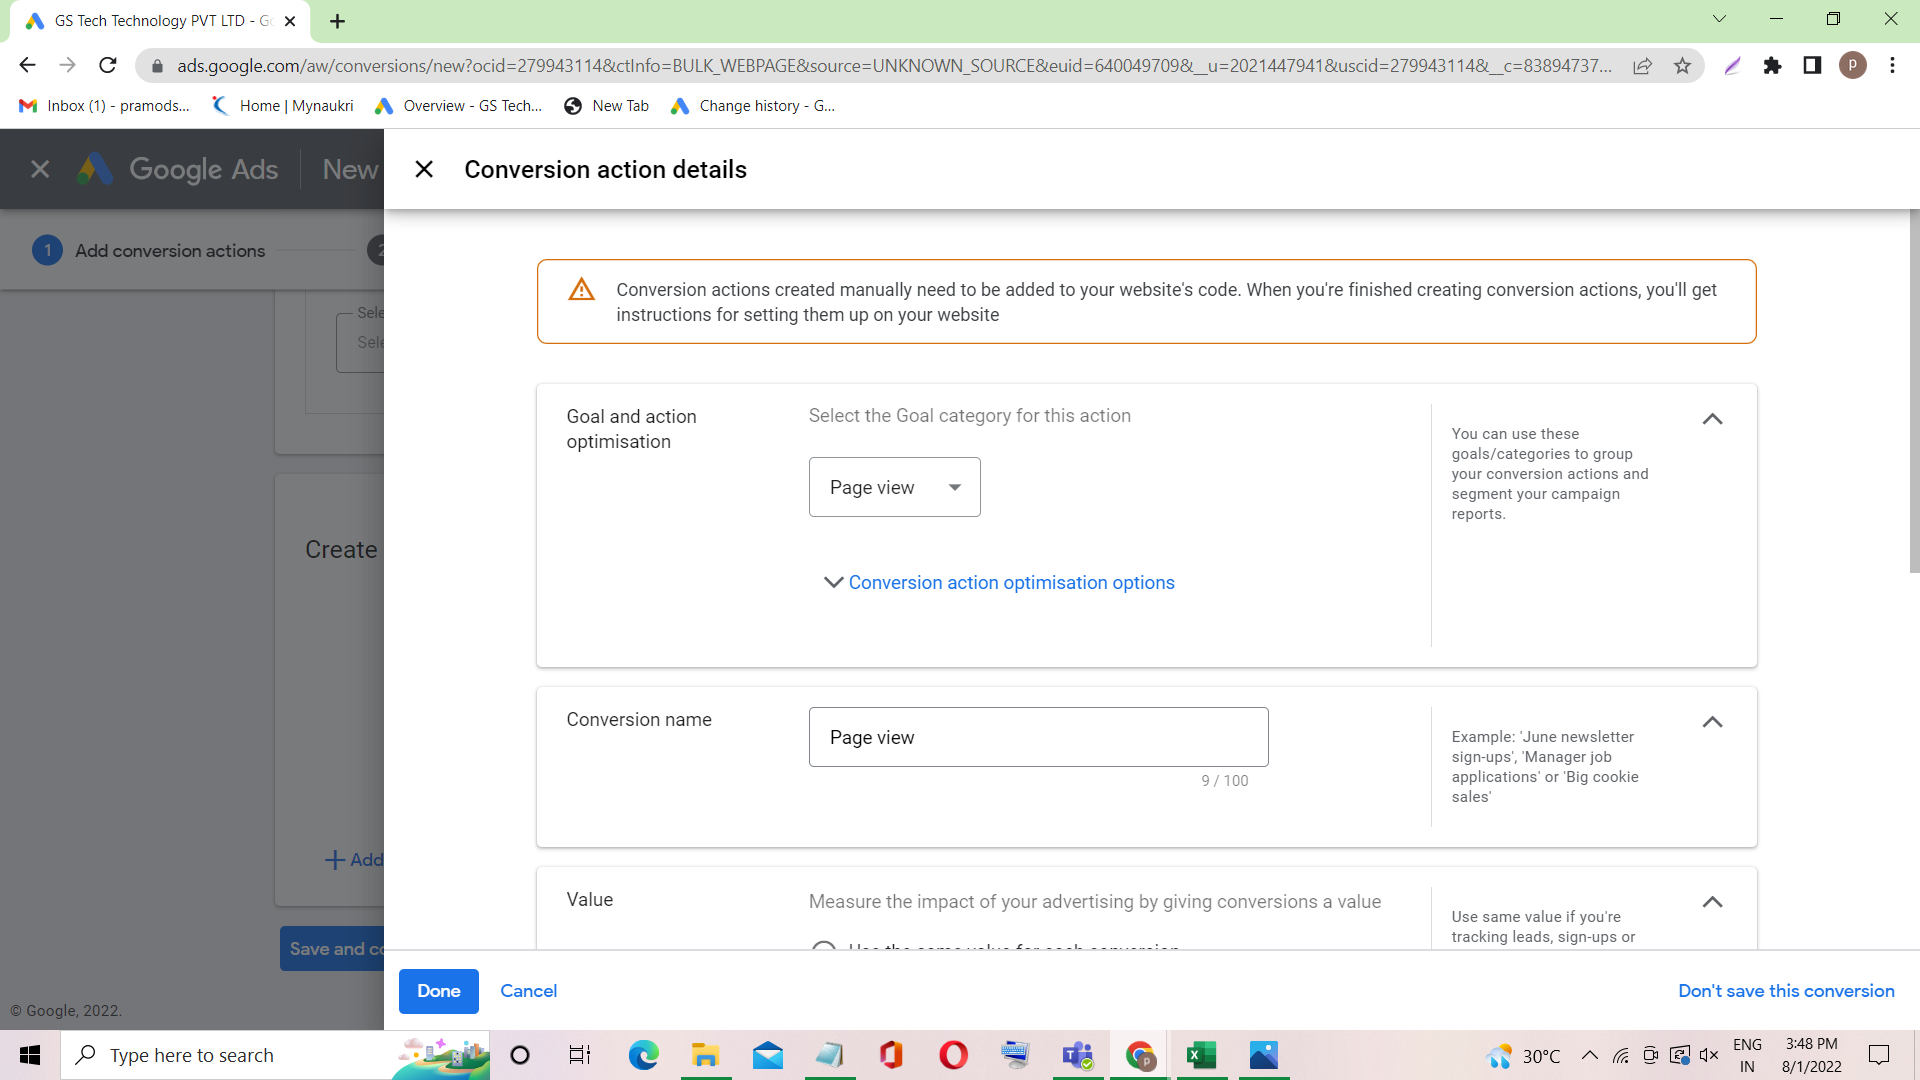
Conversion name
The second option is “Conversion name”. Enter the name for your reference based on the category selected. For example, if you want to track your newspaper conversions and have selected the “Sign-up” option in the category, then enter the conversion name “Sign-up-Newspaper” for your easy reference.
Note:- While you are free to choose any conversion name you want, it is always advisable to stick with the example given above to keep things clear while tracking your conversions.
Value
The third option is “Value.” Here you can set your value for your conversions. Eg.) If you are tracking the sales for a product worth $20 each, then you can set your value as $20 for each conversion. Hence, you can see how much revenue you have made at the end of the day.
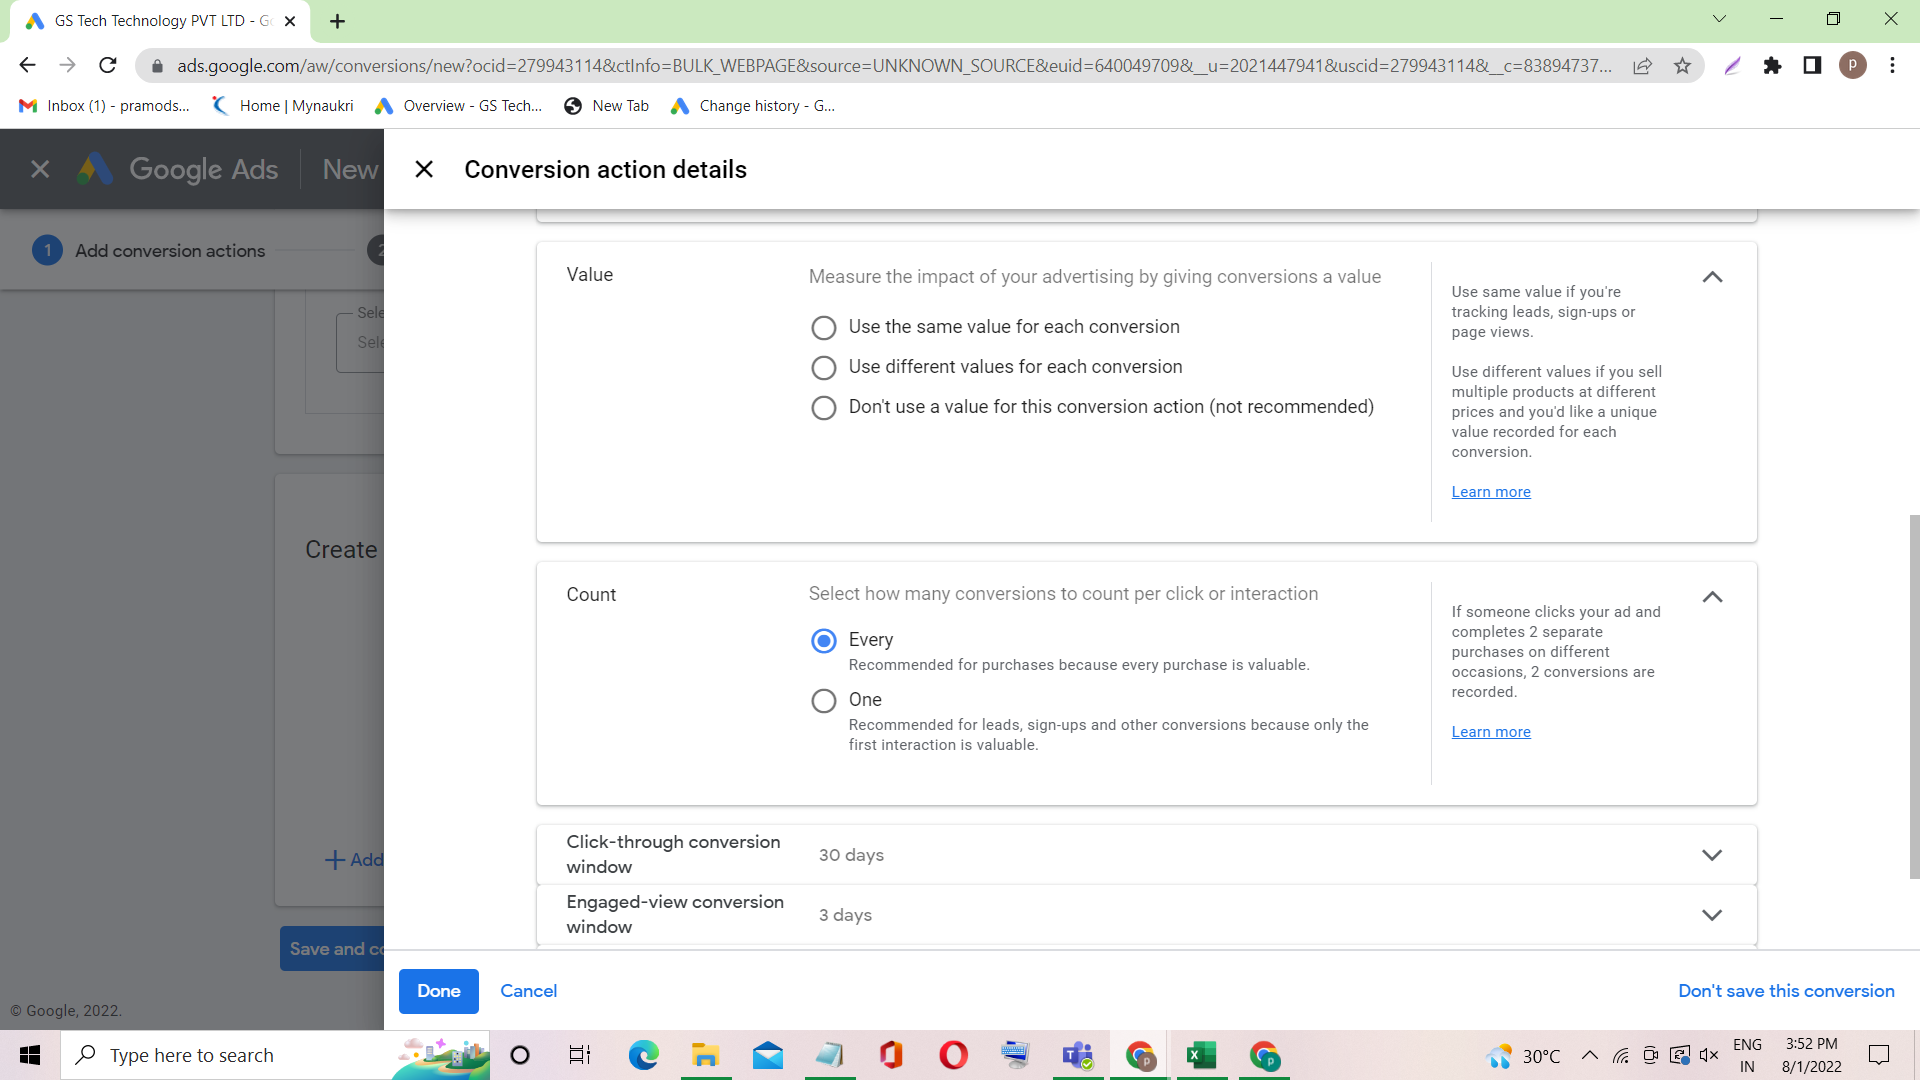
There are three different options in the Value category…
Use the same value for each conversion- This is one of the most used options. This option is used to track the conversion of the product that has the same value.
Use different values for each conversion- If you want to track the conversion for multiple products or an item on your webpage, then this is the option for you. However, to utilize this option effectively, a few changes have to be made by your web page developer. Click on the “learn more” option and follow the steps to set up this conversion.
Don’t use a value for this conversion action- If you are not sure about the value of your product or item that you want to track, then select this option and proceed to the next step.
Count
The fourth option is “Count”. This option is used to set the method of calculating your conversions.
There are two different options in the count category…
Every- Each conversion will be considered separately and is calculated accordingly. Eg.) If someone clicks on your ad and completes 2 separate purchases on different occasions, then 2 conversions are recorded.
This option is recommended only for tracking online purchases. Because when you are tracking the “sign-up” for your website using the “Every” option, and if the same person signs up twice for your website accidentally, then this option will count as 2 conversions. Hence, this will give you some misleading information.
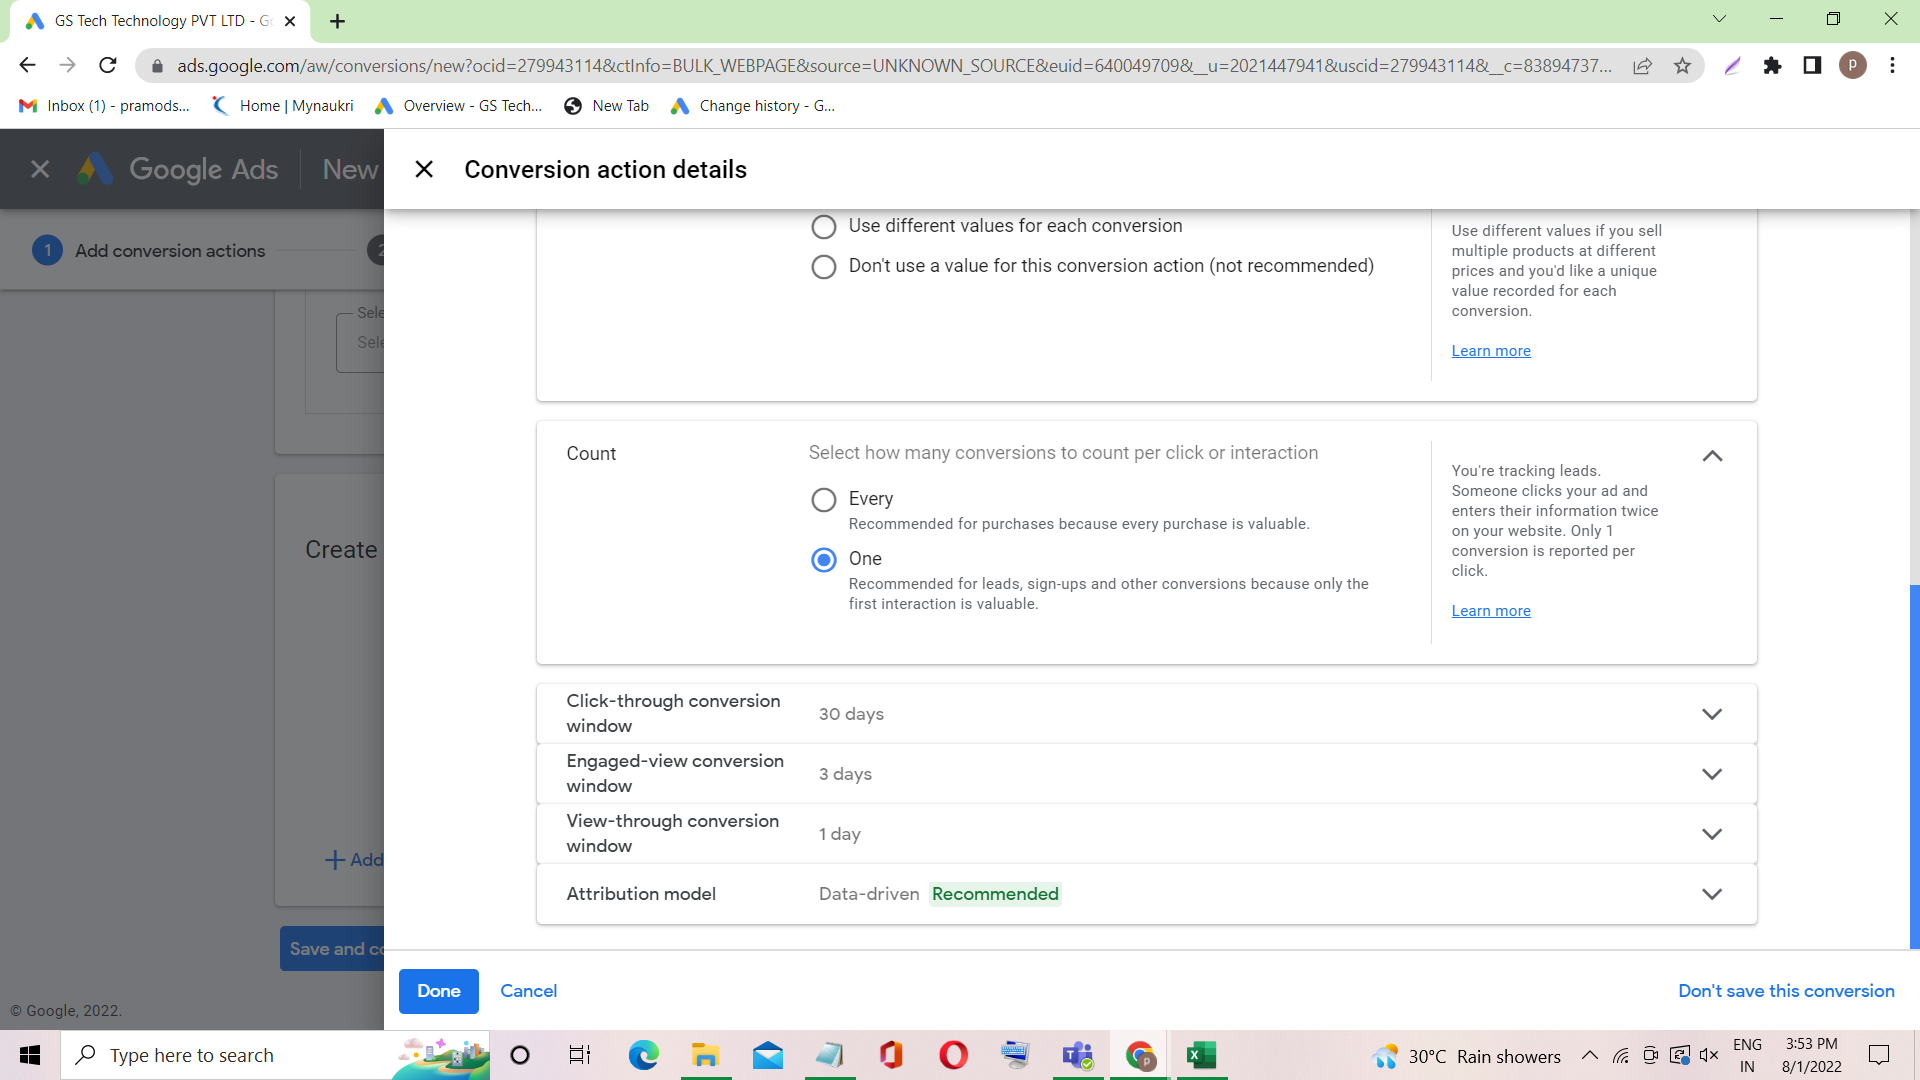
One- All the conversions from a single person are considered as one and this option is recommended only for leads and sign-ups.
Eg.) If someone clicks on your ad and enters their information twice on your website, then only 1 conversion is reported per click.
Click-through conversion window
This option is used to track the conversion duration by the customer after seeing your ad. Eg.) If you set your conversion window to be 7 days, then the conversion will be tracked only if the customer purchases or signs up for your product within 7 days of clicking on your ad.
Include in conversions- This option includes conversion data in your “conversions” column. You can use this “Include in conversions” option if you are running the ad based on conversion-focused bid strategies.
Attribution model- The attribution model determines how much credit each click gets for your conversions. This option is only available for search networks and Google shopping ads.
Enhanced CPC- Enhanced CPC partially automates your manual bids by adjusting your max CPC (after applying any bid adjustments you’ve set) and doesn’t allow you to set an explicit target. Eg.) If your CPC budget is set at $5, Google will raise it to $7 for some time at particular places when it thinks it will result in more conversions.
But if you want Google to follow only your fixed budget for CPC, then de-select this option and proceed to the next step by pressing the “Create and continue” button.
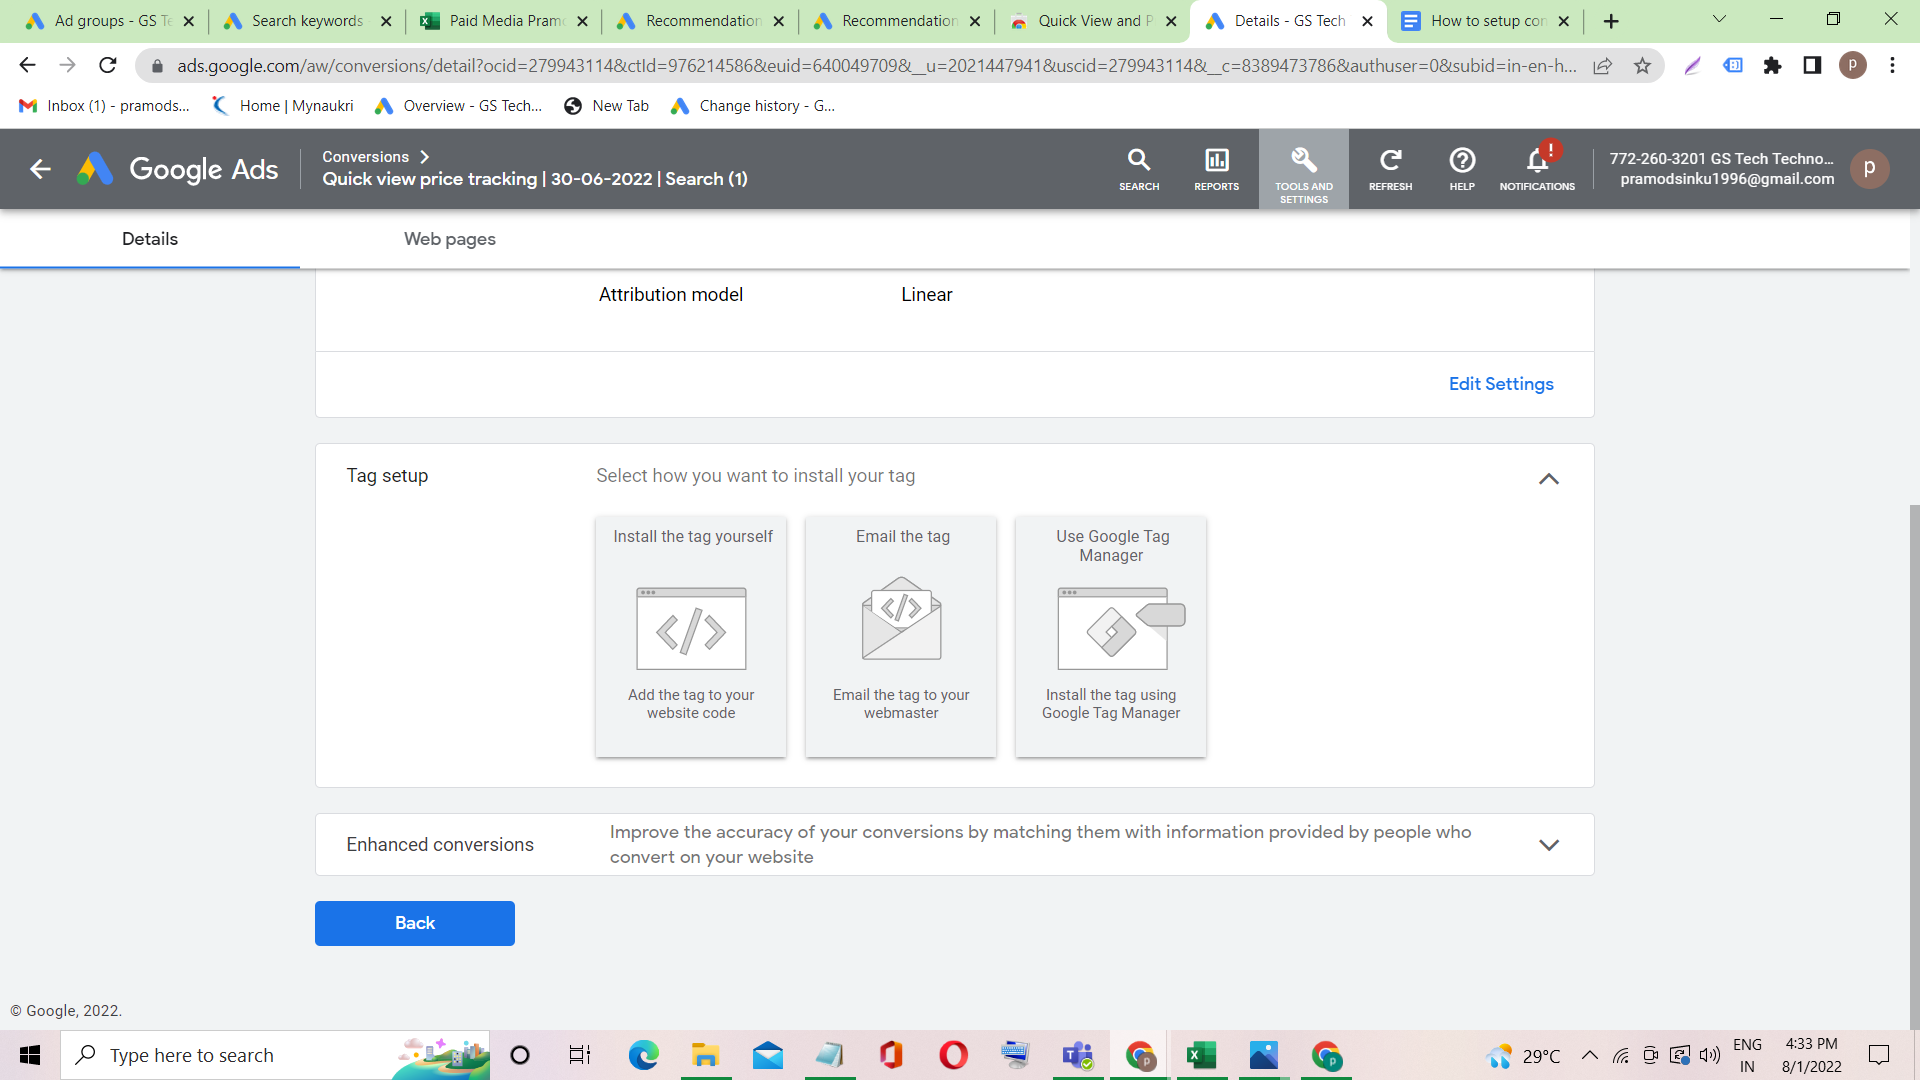
Setting up the tag on your pages:-
The next page where you will land is “Set up the tag”. This is the process where you have to copy and paste certain codes on your web pages provided by Google to help Google track your conversions.
Steps to set up the Google tag on the website
1. In the tag set-up section, click on the “Install the tag yourself” option.
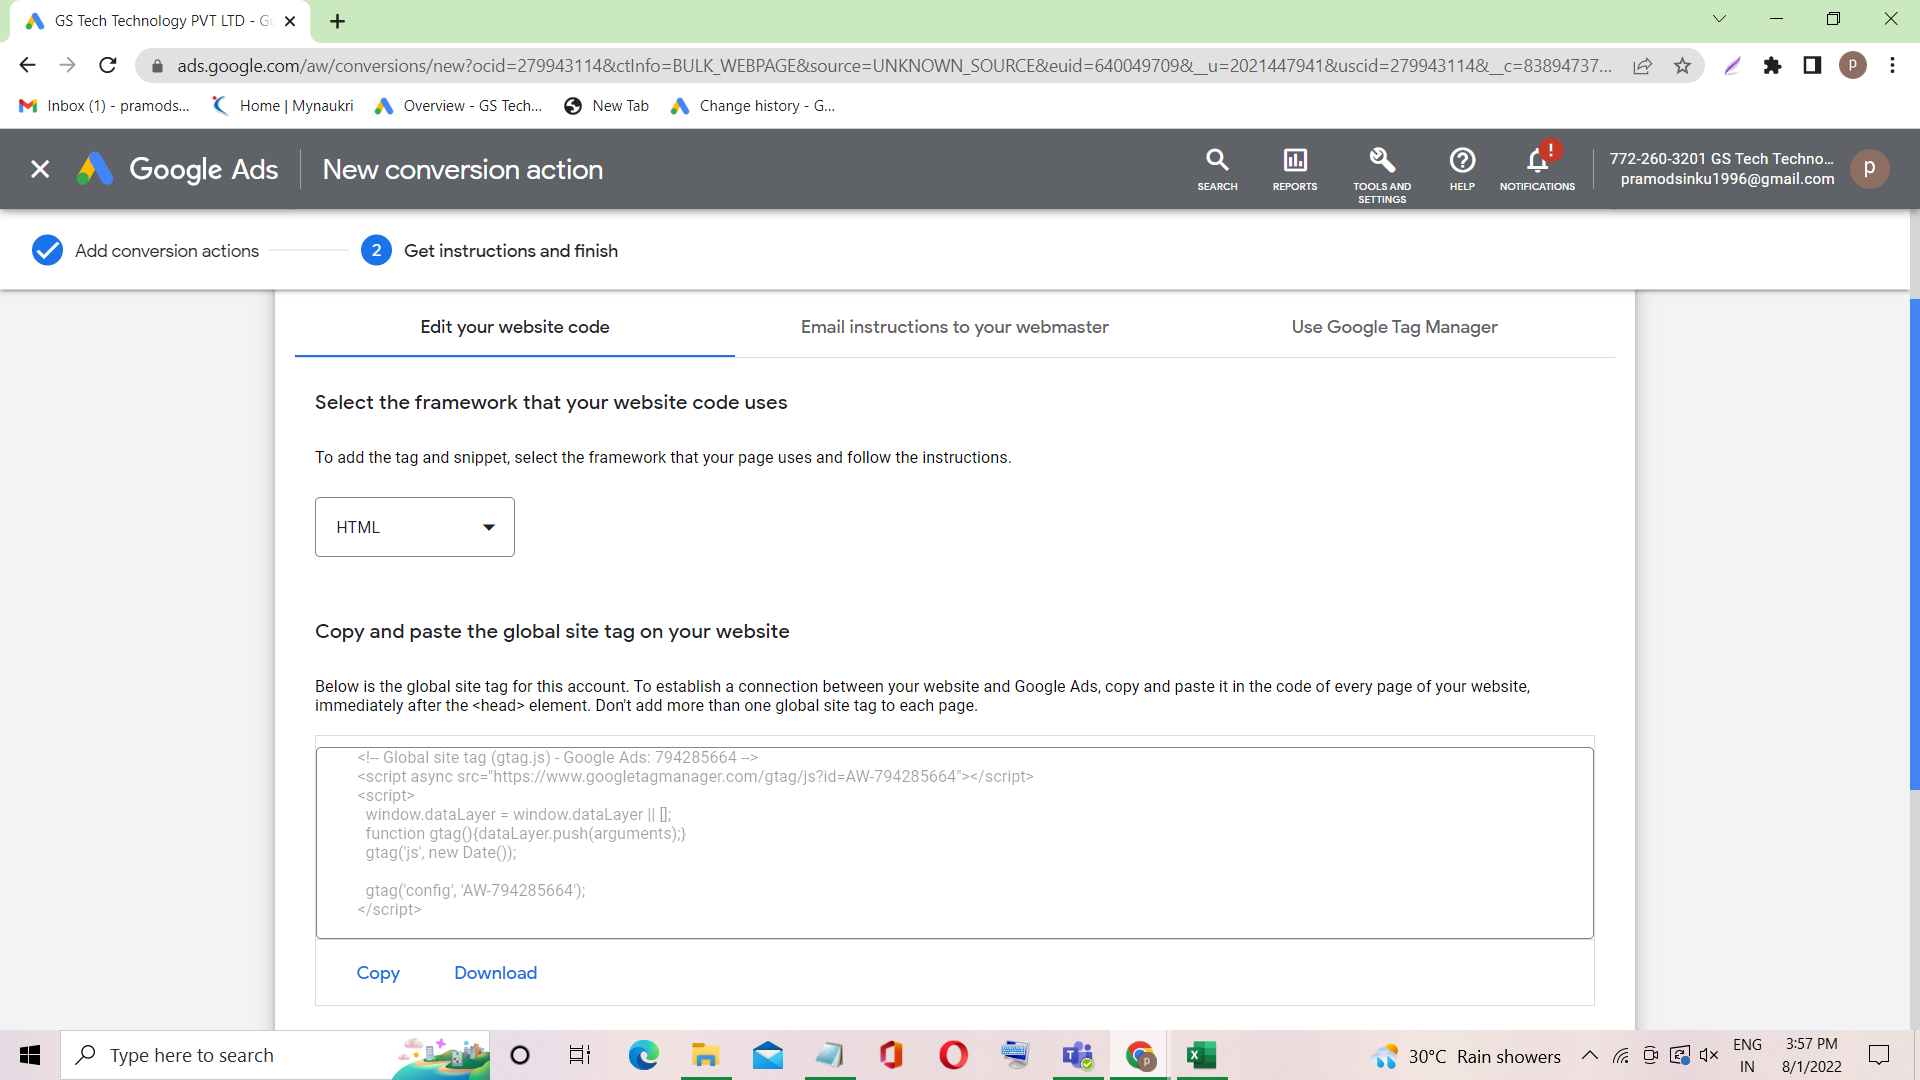
2. Select “HTML” from the drop-down from the “See code for” section.
3. Select the “The global site tag isn’t installed on all your HTML pages” option from the Global Site Tag section.
4. You have to copy the complete Java Script program code within the box and paste this code on all the pages of your website.
5. After copying the Global Site Tag code, go to the website that you want to track. Then open the Javascript on your webpage.
Steps to add Conversion Tracking in Google Ads in the Website:
6. Paste the Global site tag code and change the script name to “Google Ads Base Code”, as well as click on the drop-down of the “Placement” section and select “Head”. Since this code is the global base code, you have to repeat this process for all the pages on your website.
7. After updating the global site tag code for all the pages, we have to update the special conversion code for only the pages where you will be able to track your conversion. Eg.) If you want to track your conversions for online purchases, then paste the conversion code on your “Payment Confirmation” page so that once the customer buys your product, Google will be able to count your conversions.
8. Go to the next section, “Event snippet”, and there you will be able to see two options. One is “Page load” and the other is “Click”. Select “Page load” if you want to track conversions on the webpage, or select “Click” if you only want to track the clicks on your links on the web page.
9. After selecting the appropriate option, copy the code from the box. Only open the page where you will track your conversion. Now open the javascript and paste the codes. Change the script name to “Google Ads conversion code” and also change the placement to “Head”. And most importantly, do not forget to click on “Done” to save the changes.
10. Come back to the Google ad page and click on the “Next” button below the event snippet section. Now you will see a confirmation stating that the conversion setup is complete.